Jupyter Notebook
Anaconda默认自带Jupyter Notebook,可以很方便的运行Python代码、记录笔记。在terminal输入jupyter-notebook,会自动新建浏览器页面,即打开jupyter notebook。
1 安装kernel
Jupyter NoteBook支持多种Kernel,也就是说在notebook中可以使用多种语言。下面是常见编程语言的kernel安装方法。
Bash Kernel
Bash kernel(Project Link)可以通过pip安装。
pip install bash_kernel
python -m bash_kernel.install
Python⅔ Kernel
通过ipykernel可以安装Python⅔ Kernel。
python3 -m pip install ipykernel
python3 -m ipykernel install --user
Scala Kernel
通过spylon-kernel,可以在notebook上写scala和Spark程序。
pip install spylon-kernel
python -m spylon_kernel install
Sparkmagic
Sparkmagic可以在Jupyter notebook中运行spark和scala。首先安装Sparkmagic和livy。在启动livy和spark后,参照示例运行Sparkmagic.
%load_ext sparkmagic.magics
%manage_spark
# 选择Add endpoint: Address: http://centos1:8998 Auth: None
# 选择Create Session
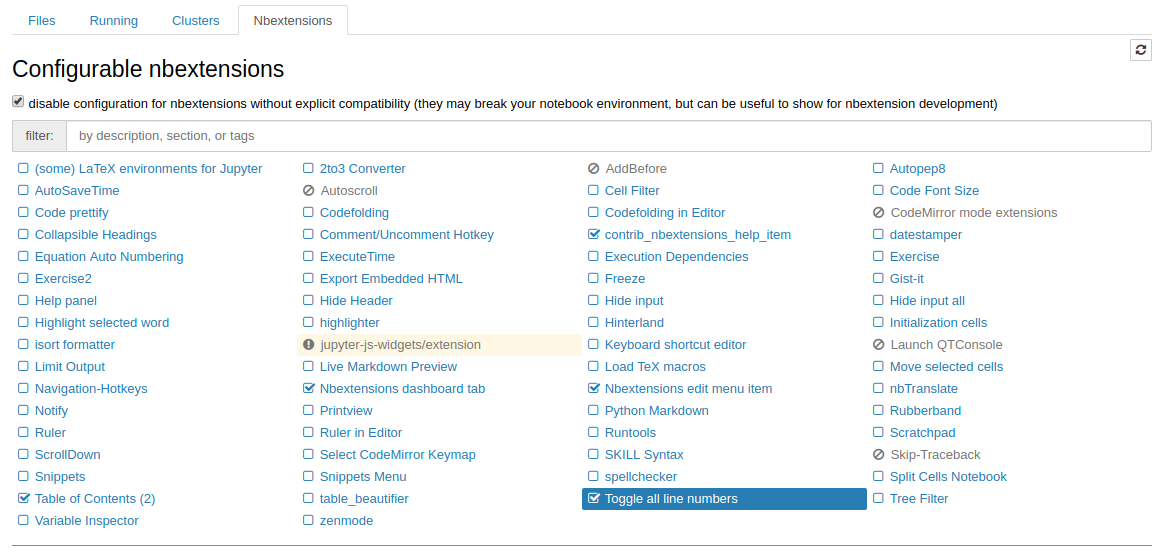
2 安装插件
nbextensions为Jupyter notebook提供了各种各样的插件。
pip install jupyter_contrib_nbextensions
jupyter contrib-nbextension install --user
在启动notebook后,网址http://localhost:8888/nbextensions对应的是nbextensions的配置页面。也可以在启动notebook页面中寻找nbextension配置(最右侧标签页)。
守护进程
nohup jupyter notebook &> /dev/null &
nohup: 不挂断地运行命令, 忽略SIGHUP信号&: 后台运行
在Mac上选择System Preferences - Users&Groups - Login Items添加shell脚本,使脚本开机启动。